Introduction Video

Account Setup Instructions

Step 1: Establish an NPI Number

Begin the credentialing process by obtaining an NPI or National Provider Identification number. This unique 10-digit identifier is assigned to healthcare providers in the United States, including non-traditional fields like Tai Chi and Qigong. Visit nppes.cms.hhs.gov to start.

  • Accept the displayed Terms and Conditions.
  • Select "Create Account Now."
  • Create a user ID and password that meet the requirements.
  • Choose five security questions and answers.
  • Select a multi-factor authentication method and confirm.
  • Select a second multi-factor authentication method and confirm.
  • Click “continue to homepage” and select “register for an NPI”.
  • Log in using your newly created credentials.
  • Choose "Apply for an NPI for myself."
  • Select "Sole Proprietor."
  • Add your business mailing address or select "This is my home address" if applicable.
  • On the Taxonomy screen, choose "2255A2300X-Specialist Technologist-Athletic Trainer".  This is the appropriate selection for Qigong and Tai Chi instructors.

Congratulations! Your NPI number is set up. Watch for an email containing your NPI number. Keep it accessible for future use in applications and insurance claims.

Step 2: Create an Account with the TRAIN Learning Network

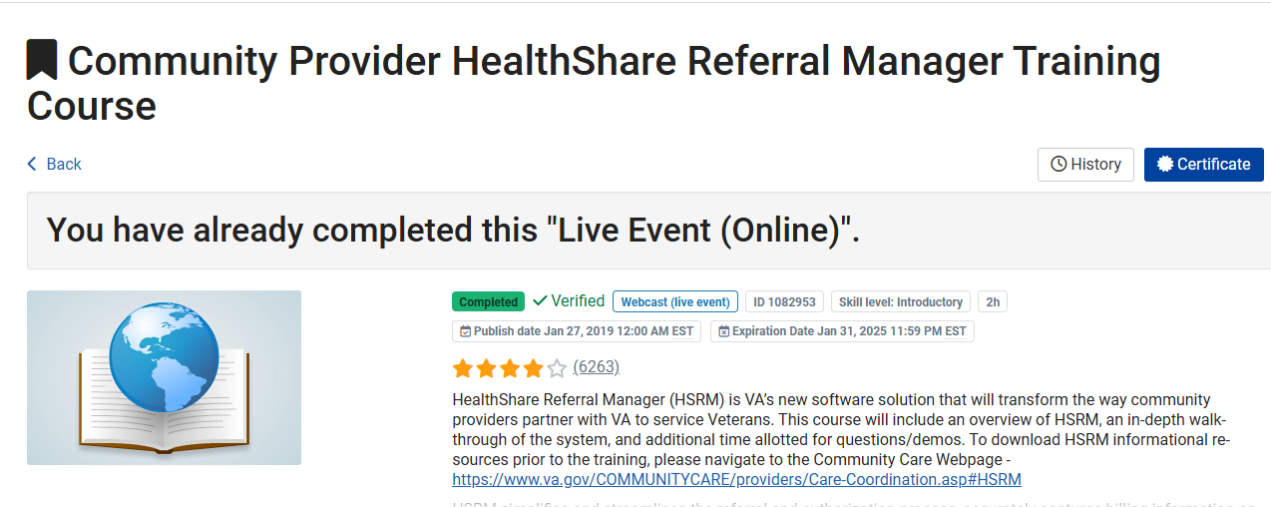
Next, we will create an account with the Train Learning Network and enroll in the VA's Health Share Referral Manager Course. This course equips participants with the insights and skills necessary for managing health share referrals. Additionally, Train offers a diverse range of courses and resources tailored to various aspects of public health, including topics relevant to veterans’ health and well-being. These include courses on PTSD, veterans’ culture, and psychological first aid.

  • To begin, go to www.train.org
  • Click "Create Account" to begin registration.
  • Fill in the required fields.
  • Select "General Public" and confirm.
  • Select "NOT: EMS / Peace Officer / Firefighter / Specialty Care Center" and confirm.
  • Under "Professional Role," navigate to the bottom of the screen and select “other”. Type in “Qigong/Tai Chi Instructor”.
  • Under “Work Settings” click on “Healthcare Services” and select "Other”
  • Complete demographic information and click "Finish Creating Account."
  • Verify your email address by clicking the link sent to your email.
  • Return to train.org and complete your profile under the Notifications tab.
  • In the Course Catalog, search for "HSRM" and select "Community Provider Health Share Referral  Manager Training Course." This course will teach you how to access patient records, manage appointments, and enter clinical notes for the VA. (See image below)
  • Choose a webinar session that suits your schedule and register.
  • Verify your registration via email.
  • When it's time for the course, return to the page and select "join session."

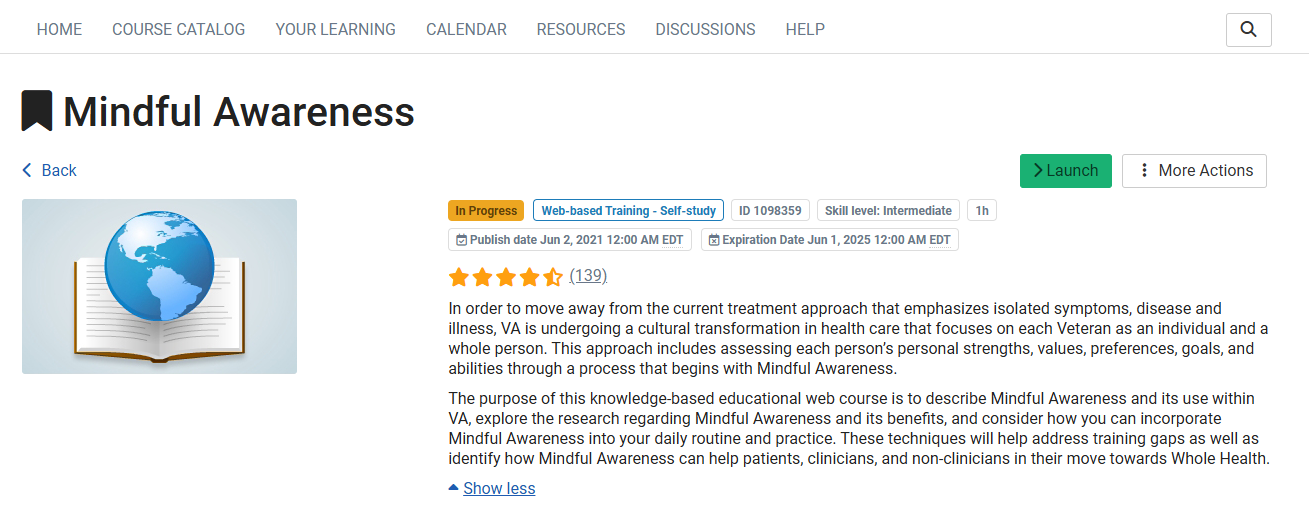
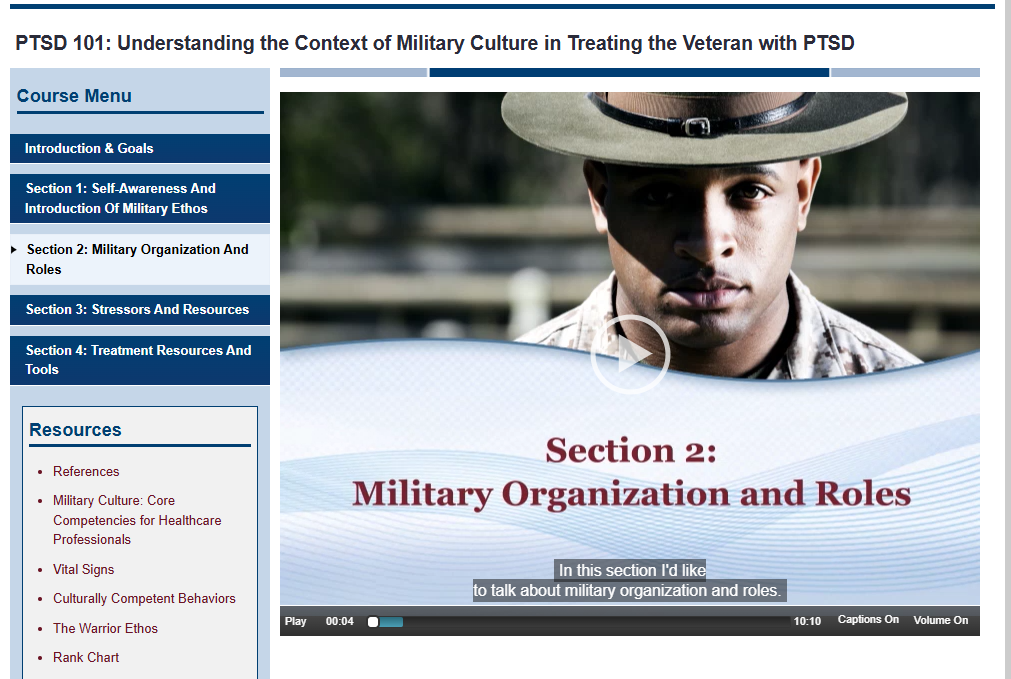
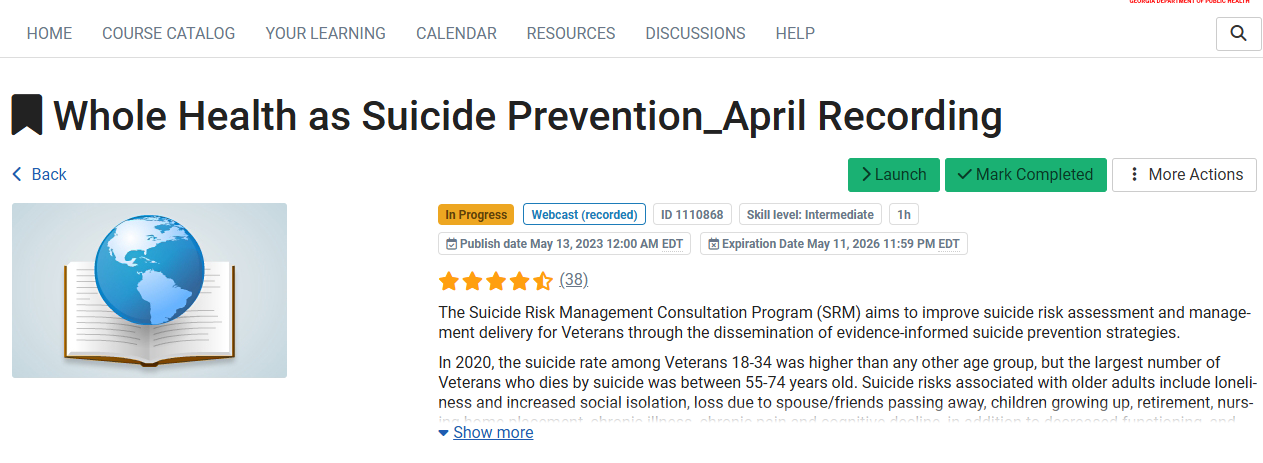
To help ensure you are well prepared to work with veterans, please complete the following courses:

To help you locate these courses on the page, they will appear as shown below:

Step 3: Create an Availity Account to Submit Claims and Receive Payments

Availity is a platform used for electronic data interchange (EDI), allowing healthcare providers to submit claims and receive payments from various payers, including TriWest, which administers certain healthcare programs for veterans. Utilizing Availity for EDI purposes streamlines the process for those serving veterans.

  • To begin, visit www.availity.com and select "Log in to Essentials" followed by "Create a Free Account."
  • Complete the required fields
  • Choose three security questions and provide answers.
  • Verify your email address by clicking the link sent to your inbox.
  • Set up 2-step authentication and safeguard your backup codes for accessing your account in case of device unavailability.
  • Agree to the user agreement
  • Opt for the middle option
  • Register your organization by selecting "Register an Organization" and verifying your identity as the Administrator.
  • Fill in the necessary fields and proceed through a brief identity verification quiz.
  • Finalize your registration.
  • Indicate your primary activity as "Health Care Provider."
  • Register as a "Health Care Provider or Health Services Provider."
  • Input your organization or personal details.
  • Select the Primary Taxonomy as 2255A2300X - Respiratory, Developmental, Rehabilitative and Restorative Service Providers – Specialist/Technologist - Athletic Trainer.
  • Provide your organization’s NPI number that you applied for previously.
  • Consent to the terms and proceed by clicking "Next."
  • Enter your address and phone number, and opt-in for securely exchanging EDI files with payers using Availity’s SFTP.
  • Provide your contact details and choose a verification option.
  • Review the information for accuracy and click "submit." Make necessary corrections if required.
  • Availity will verify the submitted information, which may take some time. Consider printing this page for your records.
  • Once approved, you can log in again and access additional options under the "My Providers" tab.

Following these steps ensures a smooth setup process for your Availity account, facilitating efficient EDI transactions for healthcare services, including those rendered to veterans.

Step 4 (Final Step): Contact TriWest

This video details the final steps in the application process. Please note that this video is password protected. To obtain access, email credentialing@nqa.org to request the password. When you contact the Veterans Support Committee, be prepared to provide proof of completing the courses listed in Step 2. These courses include:

  • Community Provider Health Share Referral Manager Training Course
  • Mindful Awareness
  • PTSD 101
  • Whole Health as Suicide Prevention

Manage Your Account

How To Submit A Claim Through Availity

Welcome to this step-by-step tutorial on how to submit a claim through Availity. In this video, we will guide you through the process to ensure your claim submission is smooth and successful. Let's get started!

  • Log in to your Availity account using 2-step Authentication.
  • Accept all cookies.
  • Navigate to the menu and select “Claims & Payments.”
  • Under the “Claims” option, choose “Claims & Encounters.”
  • Your organization should be pre-filled. For “Claim Type,” select “Professional Claim.”
  • Under “Payer,” choose “Triwest Healthcare Alliance.” You can quickly find this option by typing it into the field.
  • Fill out the following fields, starting with the veteran’s last name.
  • Next, fill out “Subscriber Information” found on your VA forms. The insured ID number is listed on your VA 10-7080 and is the Veteran’s EDIPI number.
  • Under “Authorized Plan to Remit Payment to Provider?” select “Yes.”
  • Enter your information under “Billing Provider Information.” If you completed the organizational portion of your Availity account, it will auto-populate.
  • Under “Claim Information,” the Patient Control Number is your internal account number for the patient. It can be anything you choose.
  • For “Place of Service,” select “02 Telehealth” for telehealth services, or “11 Office” if providing services in person.
  • Set “Frequency Type” to “Admit Through Discharge Claim.”
  • Set “Provider Accepts Assignment” to “Assigned.”
  • Set “Release of Information” to “Informed Consent.”
  • Set “Provider Signature on File” to “Yes.”
  • Set “Claim Filing Indicator” to “Veterans Affairs Plan.”
  • The “Prior Authorization Number” is the referral number starting with “V.A.” found on the upper right corner of the VA Form 10-7080.
  • The “Principal Diagnosis Code” is an ICD-10 code from the VA Form 10-7080. For this example, we use M5450- Low Back Pain, unspecified.
  • For “Dates of Service,” enter either a single date or a range of dates. For this example, use a single date.
  • The “Procedure Code” is always “S9454- Stress Management Class.”
  • The “Diagnosis Code Pointer” refers to the original Principal Diagnosis code entered above.
  • The charge amount can be any amount you choose. The VA will pay according to the VA’s maximum fee schedule, which is $62 per veteran per session at the time of this video.  We suggest choosing an amount higher than the maximum.  If you choose an amount lower than the maximum that is the amount you will receive.
  • The “Quantity” will be the number of times you saw the veteran. In this example, enter one.
  • Click “Continue.” On the next page, click the “Submit” button. When you click “Submit,” you will receive a notice to save for your records.

For additional assistance contact: credentialing@nqa.org